
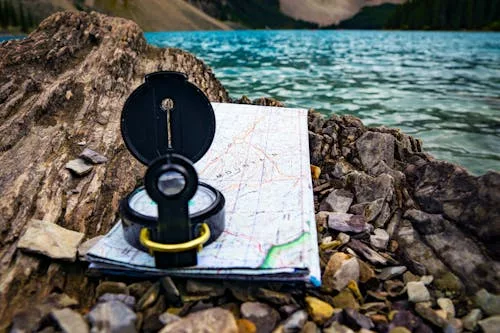
Navigating with a map and compass is a fundamental skill that every hiker should know. While GPS devices and smartphones are convenient, they aren’t always reliable—batteries die, signals drop, and technology can fail at the worst times. Learning to use a map and compass ensures you can navigate confidently, stay on track, and find your way in any terrain.
In this guide, I’ll walk you through why hiking with a map and compass is essential, how to read a topographic map, basic compass skills, and how to combine them for effective navigation.
Why Hike with a Map and Compass?
Even in today’s digital world, a map and compass remain the most reliable tools for navigation. Here’s why:
- They don’t need batteries or a signal. Unlike GPS devices, a paper map and a good compass will never run out of power.
- They work anywhere. Whether you’re deep in the backcountry or hiking in a remote national park, these tools function no matter where you are.
- They improve situational awareness. Reading a map helps you understand the terrain, elevation changes, and key landmarks before you set out.
- They’re invaluable in an emergency. If you or someone else gets lost or injured, being able to pinpoint your location can be lifesaving.
Understanding Topographic Maps
A topographic map is different from a regular road map—it provides detailed information about the landscape, making it an essential tool for hikers.
Key Features of a Topographic Map
- Contour lines: These indicate elevation changes. Closely spaced lines mean steep terrain, while widely spaced lines suggest a gentler slope.
- Scale: Hiking maps commonly use scales like 1:25,000 or 1:50,000, meaning one unit on the map equals 25,000 or 50,000 units in real life.
- Symbols and colors: Blue represents water, green shows forested areas, and brown indicates elevation. Trails, roads, and landmarks are also marked.
- Grid references: Maps often use coordinate grids like UTM (Universal Transverse Mercator) or latitude/longitude to help pinpoint locations.
How to Read a Topographic Map
- Find your location by identifying nearby features like rivers, ridges, or peaks.
- Plan your route by following natural terrain features for easier navigation.
- Check elevation changes to anticipate climbs, descents, and potential obstacles.
(For a deeper dive into reading topo maps, check out my post here.)
Choosing the Right Compass
Not all compasses are created equal. A good hiking compass should have:
- A rotating bezel: Allows you to set and follow a direction.
- A clear baseplate: Helps align the compass with your map.
- Declination adjustment: Accounts for the difference between magnetic north and true north.
- A sighting mirror (optional): Helps with precise navigation.
(I’ve written a more detailed guide on compasses here.)
What Compass Should You Choose?
Personally, I swear by Silva compasses. They offer a range of options for everyone—from beginners to professional navigators. [Check out some of their products here.]
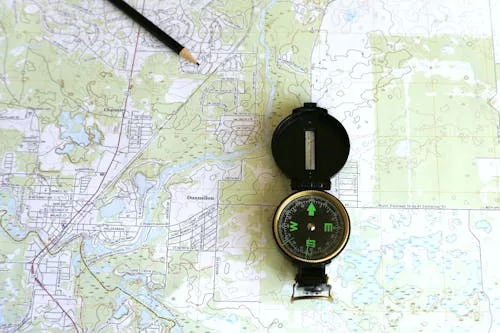
Basic Compass Skills
To navigate with a compass, you’ll need to understand these key functions:
- Finding North: Hold your compass flat and let the needle settle. The red needle always points to magnetic north.
- Taking a Bearing: Line up the direction-of-travel arrow with your target, rotate the bezel until the needle aligns with the orienting arrow, and read the degree at the index line.
- Following a Bearing: Turn your body until the needle aligns with the orienting arrow, then walk in the direction the baseplate arrow is pointing.
⚠️ Tip: Metal objects (phones, keys, or even metal buttons) can interfere with your compass. Keep it away from these items for the most accurate reading.
Orienting Your Map with a Compass
1. Lay the map flat.
2. Place your compass on the map, aligning its edge with a north-south grid line.
3. Rotate the map until the needle points to the top of the map (north).
Orienting Your Map Without a Compass
If you don’t have a compass, you’ll need to match visible landscape features with those on your map. This skill improves with practice!
Combining Map and Compass for Navigation
Using a map and compass together allows you to navigate accurately. Here’s how:
Plot Your Route on the Map
The most direct route isn’t always the best choice—terrain matters.
- Steep ascents through dense forest can be slow and exhausting. Choosing a ridge line may be longer but often makes for an easier, faster, and safer hike.
- Rivers or steep cliffs can block your path. Checking your map beforehand helps you plan an alternate route.
- Once you’ve decided on a route, break it down into smaller sections. Each section may require a change in direction.
Step 1: Determine Your Starting Position
Before you begin, make sure you know exactly where you are on the map. Look at the landscape around you and match it to map features like rivers, trails, or peaks.
Step 2: Set Your Compass to Your First Destination
1. Align the edge of your compass with a straight line between your start point and destination.
2. Rotate the bezel until the orienting lines inside the compass match the north-south grid lines on your map.
3. Adjust for declination (this varies by region). Move the bezel east if you’re in the Southern Hemisphere, west if you’re in the Northern Hemisphere. Your map will specify the exact adjustment.
4. Remove the compass from the map and turn your body until the red magnetic needle sits inside the orienting arrow on the face of the compass. (I call this “getting the red in the shed”).
5. Walk in the direction of the travel arrow on your baseplate.
Repeat this process for each section of your hike.
⏳ Bonus Tip: Estimate your hiking time using the 4 km/hour rule—this will help you gauge when you should reach your next destination point.
Practical Tips for Navigating on the Trail
- Check your position regularly. Don’t wait until you’re lost – confirm your location frequently.
- Use landmarks as reference points. Rivers, ridges, and peaks can keep you oriented.
- Estimate distances. Measuring distance on the map and pacing it out helps track progress.

Common Mistakes and How to Avoid Them
- Not adjusting for declination: Magnetic north and true north differ by a few degrees, so always account for declination. Your map will tell you how much to adjust.
- Relying too much on technology: GPS is useful, but don’t let it replace traditional navigation skills.
- Forgetting to practice: Map and compass skills fade if not used. Practice on easier hikes before heading into remote areas.
My Final Thoughts
Hiking with a map and compass might seem daunting at first, but with practice, it becomes an invaluable skill. It boosts your confidence, improves safety, and adds a sense of adventure to your hikes.
Next time you hit the trail, bring a map and compass—try using them alongside your GPS to build your skills. Happy Hiking!
Have you ever navigated with a map and compass? Share your experience in the comments below!