
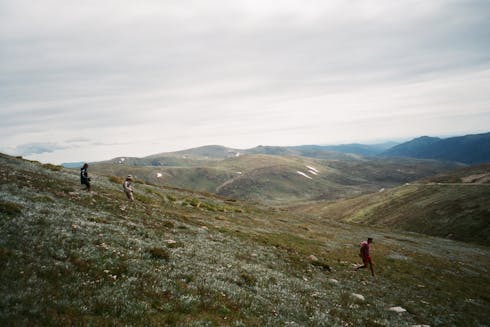
If you’ve ever spent a day hiking, you know that hiking downhill might seem like the easy part—but it can actually be surprisingly tough on your body. While uphill hiking leaves you huffing and puffing, downhill hiking takes its toll in a different way. Your knees, muscles, and joints do a lot of work absorbing impact and controlling your descent.
Knowing how to hike downhill safely and efficiently will save you a lot of joint and muscle pain and may even prevent injury. The plus side is that having the agility to hike downhill can help with fall prevention as we age.
Let’s explore some practical downhill hiking tips to help make your next hike safer, easier, and more enjoyable.
Why Downhill Hiking Can Be Harder Than You Think
Unlike activities like mountain biking or skiing, where gravity works in your favor, hiking downhill can feel like trying to stop a runaway train. You’re not getting winded like you would on the way up, but controlling your descent involves a braking force that can wear down your muscles and joints over time.
Gravity helps you move forward, but that doesn’t mean you’re off the hook. Each step down puts stress on your knees, tendons, and feet, especially when you’re carrying a pack. The repeated impact can lead to sore muscles and joints by the end of a long hike.
Fortunately, there are ways to lessen the strain and make hiking downhill much more manageable.
Downhill Hiking Tips for a Safer Descent
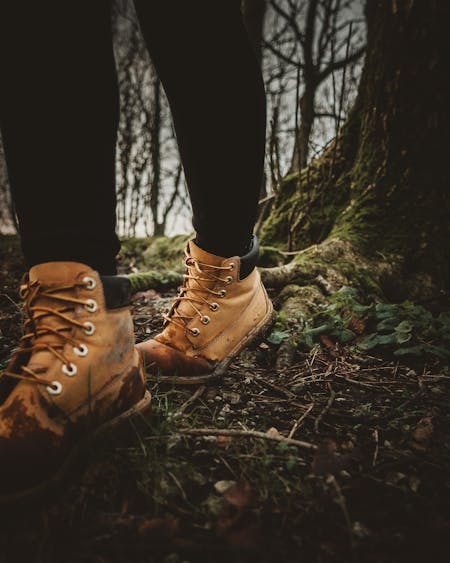
Wear the Right Footwear
Your footwear is crucial when hiking downhill. Choose hiking boots or trail shoes that provide excellent traction and support. Look for shoes with good cushioning to absorb the impact of each step. A snug fit is important, but don’t go too tight—you need some room for your feet to move, especially as they may swell during long hikes.
Lean Forward for Balance
It might feel natural to lean back while descending, but you actually want to lean slightly forward. This helps you stay balanced and prevents you from falling backward. Keep your upper body relaxed to avoid muscle fatigue, which can make it harder to control your movements.
Take Short, Controlled Steps
Taking long strides might seem like a good way to cover ground quickly, but it’s tough on your knees and ankles. Short, quick steps are much better for maintaining balance and reducing joint strain. Aim to keep your heels on the ground to engage your glutes (the muscles in your hips), which are much stronger than the muscles in your thighs.
Use Your Arms for Stability
Your arms are a natural tool for balance. Let them swing freely as you hike downhill, especially on steeper descents. Using your arms to counterbalance your movements can prevent stumbles and help you stay steady.
Watch Your Footing
Pay attention to where you’re stepping. Look for stable rocks, roots, or flat areas to place your feet, and avoid loose or slippery surfaces whenever possible. Keeping an eye on the trail ahead will help you navigate safely and minimize the risk of slipping.
Make Your Own Switchbacks
On steep slopes, walking straight down can increase the pressure on your feet, knees, and joints. To ease the strain, try zigzagging across the trail, creating your own mini-switchbacks. This simple trick can significantly reduce the impact and make descending less stressful on your body.
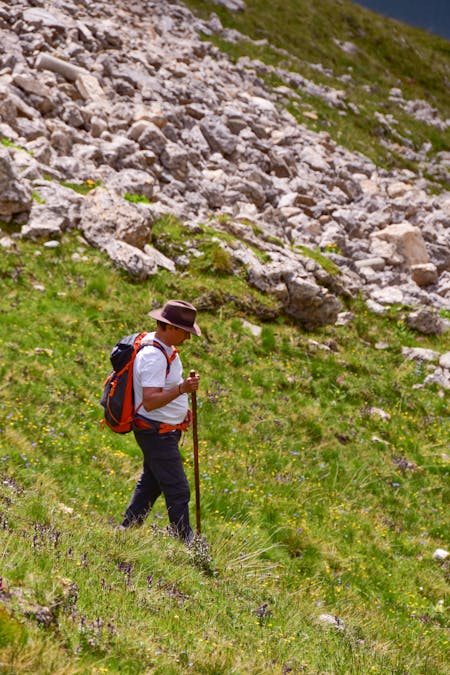
Use Trekking Poles
Trekking poles can be a game-changer when hiking downhill. They provide extra stability, reduce the impact on your knees and ankles, and help distribute your weight more evenly. For descents, lengthen your poles slightly and place your hands on top of the grips for better control. (Here’s my in-depth article on trekking poles.)
Mix Up Your Steps
Sometimes, facing forward isn’t the best option for a steep descent. Try using side steps to take the load off your knees and engage your hips more. You can also down-climb backward if necessary—don’t be afraid to use your hands if the terrain is especially challenging.
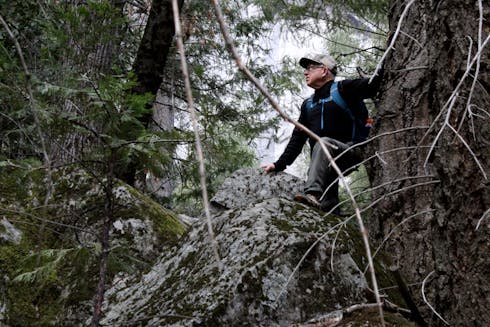
Practice Agility for Dexterity
Descending rugged terrain can require quick thinking and nimble footwork. You don’t need to master parkour, but practicing agility—like bounding between rocks or hopping over obstacles—can improve your balance and confidence on tricky trails.
Train Your Knees
If you want to make downhill hiking easier, don’t rely solely on your hikes for training. Exercises like weighted step-downs or backward sled dragging are great for building knee strength. You can even walk backward on a treadmill (while it’s off) to mimic the resistance of a sled.
Lighten the Load
The less weight you carry, the less strain on your joints. Pack only what you need for your hike and consider upgrading to lighter gear if possible. Reducing excess body weight can also lessen the impact on your knees during long descents. But remember—hiking is for everyone, and your body will adapt to the activity with practice.
An article from the Arthritis Foundation quotes Stephen Messier, PhD, who directs the JB Snow Biomechanics Lab at Wake Forest University in Winston-Salem, North Carolina, as stating: “Being just 10 pounds (4.5 kg) overweight puts an extra 15 to 50 pounds (6.8 – 22.6 kg) of pressure on your knees.” Can you imagine hiking with a 50-pound backpack all day? Exhausting!
Pace Yourself and Take Breaks
There’s no rush when hiking downhill. A slow, steady pace will help you maintain control and reduce the chance of slips or falls. Take frequent breaks to rest and recharge, especially on long or steep descents.
My Final Thoughts
Hiking downhill might seem like the easy part, but it requires careful technique and strategy to avoid injury. By wearing the right shoes, leaning forward, taking smaller steps, and using trekking poles, you can significantly reduce the strain on your muscles and joints. Remember to stay mindful of your footing, use your arms for balance, and take your time.
Whether you’re new to day hiking or an experienced adventurer, these downhill hiking tips will help you navigate descents with confidence. Enjoy the journey and make the most of your outdoor adventures! Happy Hiking!
What is your preference—ascents or descents? Leave your thoughts here or ask a question.
The only part of hiking I don’t enjoy is walking downhill. Maybe I do need to strengthen my knees some more as they are taking more strain as I get older.
Thanks for all the tips. I would have never thought to lean forward on a downhill, quite the opposite in fact, so I am going to try that next time, as well as taking shorter steps.
This article on hiking downhill safely and efficiently is a fantastic guide for hikers of all levels! I love how it emphasizes not just the physical technique but also the importance of preparation and mindfulness. The practical tips, such as maintaining a proper posture, using trekking poles, and selecting the right footwear, are incredibly helpful for avoiding injuries and ensuring an enjoyable hike.
Your advice on controlling speed and engaging the core muscles is particularly insightful, as it highlights the importance of staying in control during descents. The reminder to take smaller steps and be mindful of the terrain is simple yet crucial for safe downhill hiking.
I also appreciate the focus on mental preparation and staying alert—it’s a great reminder that hiking is not just physical but also requires situational awareness. Including tips on how to conserve energy and avoid overexertion makes this a well-rounded and valuable resource.
One question I have is about trekking poles: Do you have recommendations for hikers who are new to using poles? Are there specific features or brands you would suggest for beginners looking to invest in a good pair?
This guide is both informative and engaging—thank you for sharing such practical advice with the hiking community!
Hi Alan, thanks for your comments. With regards to trekking poles, it is a very personal choice. My suggestion would be to go to a store and try them. You may find the grip of a particular brand more comfortable than another. The other thing to consider is the ease of extending and unlocking them. I have a hiking friend who cannot unlock hers on her own. Someone has to help her.